View our Pricing & Plans for a detailed list and comparison of features available in each plan.
Build and customize web forms to collect data that powers your workflows. Use images to create a branded and optimized experience, whether you want to position your logo at the top of a form or add instructional images anywhere within it. Docubee allows you to easily upload and drag images to any spot. This customized approach empowers users to design forms that are tailored to their specific needs and preferences.
Before You Begin
- If you are a member of multiple organizations, select the organization you are acting upon.
- See Web Form (Workflow User Task) for information on creating a web form.
Add Image on Web Form
- Add a Web Form task to the workflow if there is none.
- Select the web form task in the workflow.
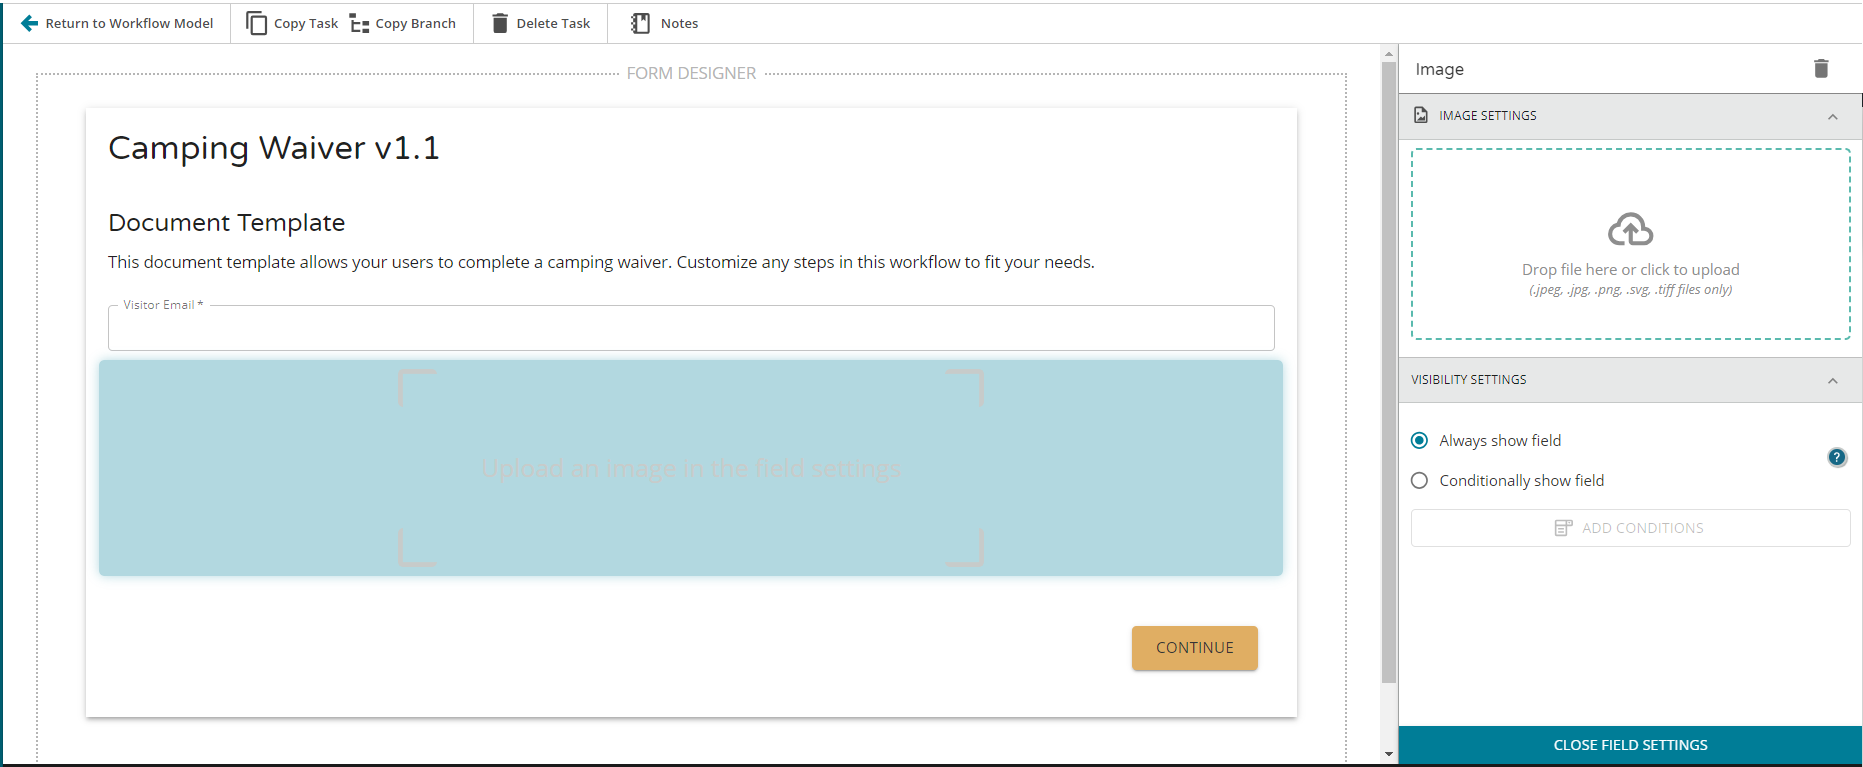
- On the right, under the Add Fields section click the Add another field dropdown and select Image.

- Under Image Settings, drag and drop an image file or click to select and upload an image from your computer.
Note: Supported image file types are JPEG, JPG, PNG, SVG, and TIFF.

- Once the image uploads, it will appear on the web form.
- Adjust image size – Use the Image Size dropdown to select a size: Small, Medium, Large, or Full Width.
- Adjust visibility – Use the Visibility Settings section to set visibility preference.
Note: See Web Form (Workflow User Task) for information on visibility settings.
- Click Close Field Settings.
- Click Return to Workflow Model.
Known Limitations
- Images are left-aligned.
- Supported image file types are JPEG, JPG, PNG, SVG, and TIFF.
- Depending on your image size and your browser zoom when configuring your web form, your image preview may not appear. To preview the image while configuring the web form, simply decrease your browser zoom until the image shows up.
Note: Even if the uploaded image isn’t visible in the preview, the end user will always be able to see it on the web form during the workflow run time.
Related Information
All About Workflows (Quick Reference)
Additional Resources
Need more help getting set up? Contact us for assistance from our customer support team or register for Office Hours.


